Start here
Service Intervals & the UK Reality
For upgrades alongside a service, start with your Harley-Davidson model in the customiser.
Start with the model, year and engine, then gather the last service date, mileage and records of any modifications. This guide helps you plan work and find parts; the motorcycle’s own maintenance table supplies the intervals and procedures. A Touring, Evolution Sportster and Revolution Max machine should not share one generic checklist.
Read the schedule by task
H-D’s maintenance guidance describes an initial 1,000-mile service and subsequent 5,000-mile service points. The model table distinguishes inspection, adjustment and replacement, with separate notes for time limits and severe use. An inspection at 10,000 miles does not necessarily mean replacing that component.
Find the owner’s manual for your exact motorcycle in the H-D Service Information Portal. Work through engine oil and filter, primary and transmission lubricant, brake fluid, air filter, plugs, tyres, belt or chain, chassis and electrical checks as separate entries. Add cooling-system maintenance wherever the model has it. Keep invoices and a record of the specification, quantity, date and mileage for each job.
Low mileage and winter storage
Where the schedule says annually or at a stated mileage, use whichever arrives first. Short journeys, cold weather, dust and heavy use can call for extra attention under the manual’s severe-service guidance. Low annual mileage does not remove time-based work. Plan storage preparation and recommissioning alongside the service, including battery care, tyres and checks for leaks or corrosion.
The MOT has a different purpose
The motorcycle MOT inspection checks specified roadworthiness items. It does not replace scheduled lubrication, filter or internal service work, and a pass is not a guarantee that a fault cannot develop afterwards. Use both the inspection result and your maintenance records when deciding what needs doing.
Choose the correct specification
Fluids: Engine, Primary, Transmission, Brake & Fork
Identify the compartment before choosing the bottle. Twin Cam and Milwaukee-Eight Big Twins have separate engine, primary and transmission lubricant compartments. On an Evolution Sportster, the engine oil is separate; the primary and transmission share lubricant. H-D’s Sportster transmission procedure shows that shared primary/transmission fill. Revolution Max models need their own instructions.
Engine oil
Use the viscosity and lubricant specification approved for your motorcycle and ambient temperatures. Check both the refill quantity and the level-checking procedure: hot or cold, upright or on the stand, and dipstick position can matter. A nominal capacity is not permission to pour that amount into a partly drained system. The H-D oil guide explains oil and filter service; your exact manual takes precedence over a general example.
Primary chaincase fluid
The primary contains the drive to the clutch and, on the relevant models, the primary chain. Choose a lubricant approved for those components and the wet clutch. Formula+ is a transmission and primary chaincase lubricant; SYN3 is also approved for specified applications. Separate compartments can use the same approved product without sharing their oil. Use the correct level, seals, fastener procedure and service interval for this motorcycle.
Transmission lubricant and SYN3
SYN3 is not 75W-140 gear oil. The earlier SYN3 was 20W-50. H-D’s current SYN3 guidance describes the new 15W-50/SAE 50 formula and its compatibility with motorcycles specifying 20W-50. Read the actual bottle and application approval before buying. Do not assume that an unrelated gear oil of a different grade is an equivalent, or that the gearbox follows the engine’s change interval.
Brake fluid
Check the reservoir marking and manual for the required fluid. Many H-D DOT 4 schedules call for moisture checks and a flush every two years, or sooner at the specified moisture limit. Older DOT 5 silicone systems require their own instructions; DOT 4 and DOT 5 must not be mixed. Keep fluid off painted surfaces and friction components. Bleeding is a model-specific brake-system operation, and ABS work can require diagnostic equipment. The service manual determines the sequence and equipment, not a universal front-then-rear recipe.
Fork oil and coolant
Fork fluid type, quantity or air gap, and service interval depend on the fork assembly, including any aftermarket cartridges. Use that assembly’s instructions rather than a generic 5W or 10W recommendation. For liquid-cooled engines or cylinder heads, also check the specified coolant and cooling-system schedule. Leaks or a change in suspension behaviour need investigation; fluid colour alone does not diagnose the cause.
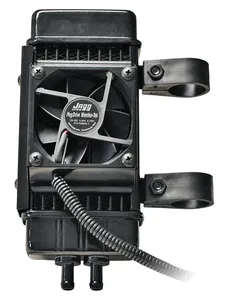
Browse oils and chemicals, or oil, filters and coolers. The Part Finder helps identify parts for the bike; use the manual for capacities and service settings.




Filters & ignition
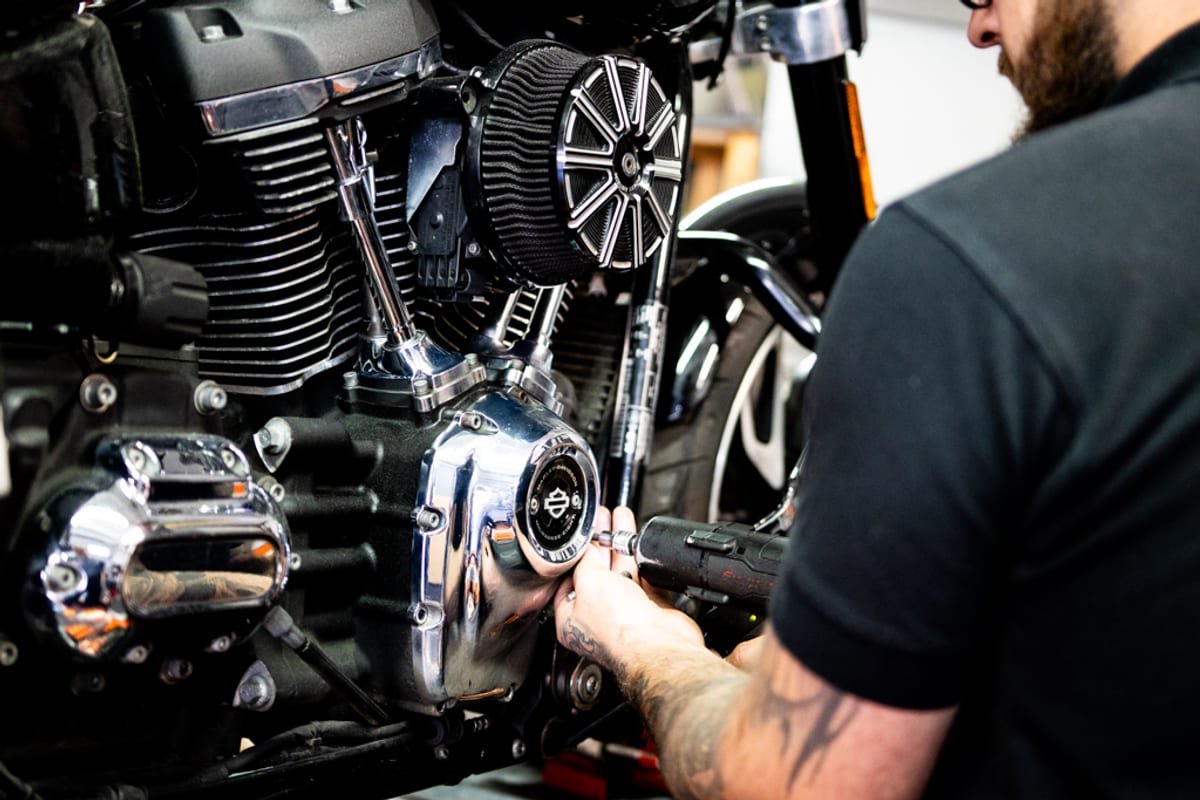
Air Filter, Oil Filter, Spark Plugs
Start with the exact filter or plug reference and the fitted engine or intake. Similar appearance, the same thread or a familiar brand name does not prove that a service part has the required specification.
Air filter
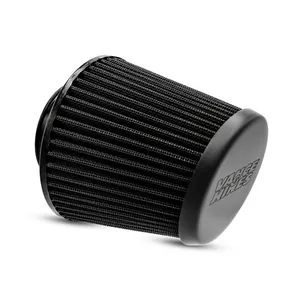
Inspect and service the element according to the motorcycle and intake instructions, with extra attention after dusty use. Paper, washable dry and oiled cotton elements have different cleaning requirements. Do not add oil to a dry element or assume every Screamin’ Eagle, K&N or S&S filter uses the same process. Check the seal and mounting while the element is accessible, and replace a damaged element rather than trying to restore it with aggressive cleaning.
Oil filter
Replace the oil filter with the engine oil at the scheduled service. Match the exact engine application, prepare the sealing surface and follow the filter and manual instructions for installation. H-D’s oil-service guidance uses a specified turn after gasket contact for its example; there is no universal 17 ft-lb filter torque. Use the separate drain-plug torque and seal requirements, then verify the level and check for leaks as directed.
Spark plugs
Confirm plug quantity, reference, heat range, gap and replacement interval from the exact engine’s instructions. The Milwaukee-Eight uses four plugs, but other Harley engines and modified heads must be checked individually. Fit the specified plug and tighten by the correct procedure. Replacing serviceable plugs early is not a guaranteed performance improvement; persistent fouling or misfiring needs diagnosis.
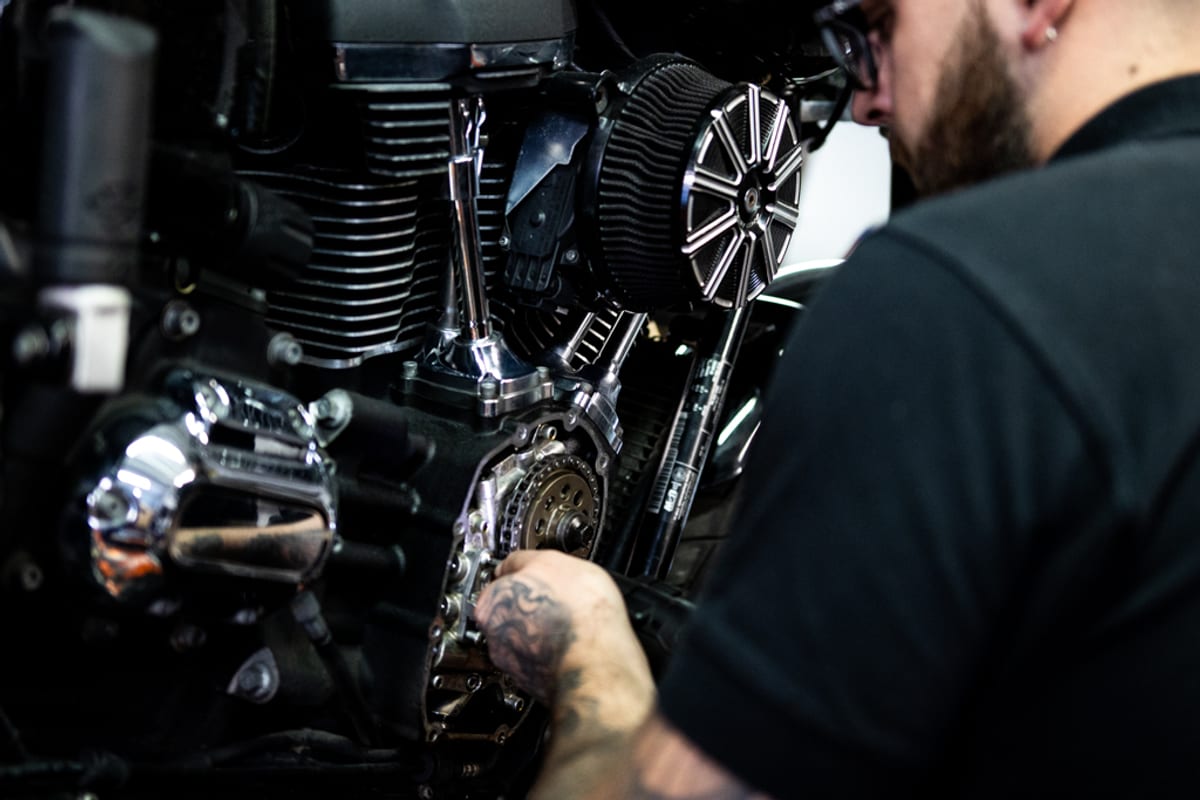
Browse air-intake filters and parts, oil filters and ignition and electrical service items. Use the H-D Service Information Portal for the service information that belongs to your motorcycle.


The bits that stop you
Brakes, Tyres & Wheels
Wear checks need the correct limits for the fitted components. Investigate a change in braking, tyre pressure or wheel behaviour promptly rather than waiting for the next oil change.
Brake pads
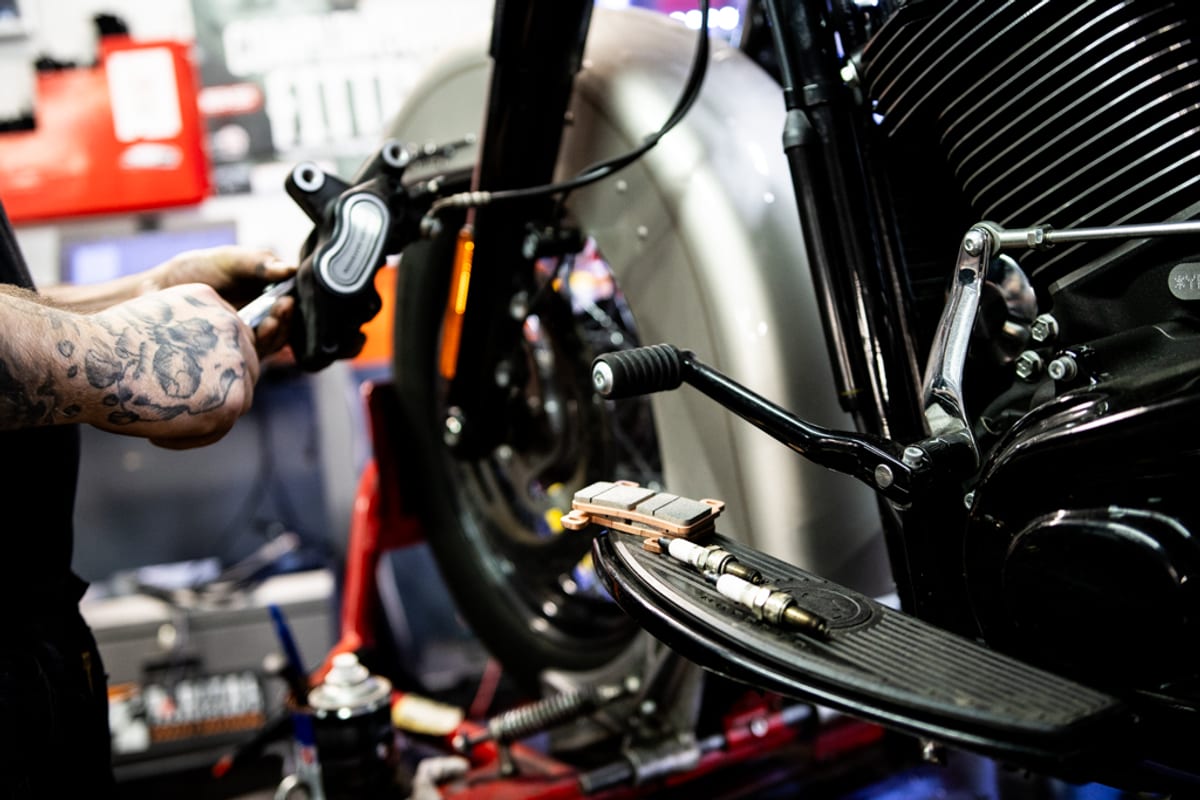
Match pads to the caliper and rotor, then choose a compound approved for that combination and intended use. Sintered, organic and other compounds are not a universal best-to-worst ranking. Check the manufacturer’s wear limit and inspect both pads for uneven wear. Oil, grease or cleaning-product contamination needs proper assessment and replacement where required; polishing products should never reach braking surfaces.
Brake rotors
Check the rotor’s specified minimum thickness and service limits, rather than using a generic Harley figure. Thickness, surface condition and runout are different checks. Cracks, heavy wear or pulsation need diagnosis with the appropriate measurements. Confirm the correct rotor, mounting hardware and pad compatibility before ordering replacement parts.
Brake fluid and lines
Follow the fluid guidance above and inspect hoses, connections and routing for damage or leakage. A braided-line replacement is a compatibility and installation decision, including ABS fittings, length and clearance through steering and suspension movement. H-D ABS brake-component instructions require a diagnostic bleed when the hydraulic system is opened. Use the exact motorcycle’s procedure and qualified help where needed.
Tyres
For motorcycles over 50 cc, the Great Britain MOT manual generally requires at least 1 mm of tread in a continuous band covering three-quarters of the breadth around the entire circumference, with the pattern visible over the rest. It also describes the exceptions. Do not treat that minimum as a grip guarantee. Check wear, cuts, bulges, cracking and pressure loss, and follow the tyre maker’s age and inspection guidance.
Measure pressures cold and use the motorcycle manufacturer’s recommendation for the load. Replacement tyres need the correct size, construction, load and speed rating, front/rear application and approved combination. A tyre family name by itself does not establish a match. The H-D tyre guide explains the importance of wear and condition checks.
Wheel bearings
Excessive play or roughness needs inspection. Safely supporting a heavy motorcycle and replacing bearings require the correct equipment and procedure; do not improvise a lift or assume any movement has one cause. Include wheel security and condition in the assessment.
Browse brake parts, tyres and wheel components, and brake lines and hardware.
Brake pads, rotors, lines & tyres




Power & light
Battery, Charging & Electrical
A bike that is parked still draws power for some electrical functions, while the battery also self-discharges. Plan charging around the fitted battery, the motorcycle’s instructions and how long it will stand. A slow starter is a symptom to investigate, not proof that the battery alone needs replacing.
Battery basics
Many Harleys use a sealed AGM battery, but the installed battery may be a lithium replacement or another specified type. Confirm chemistry, dimensions, terminal layout and electrical requirements. A resting voltage reading helps assess charge; it does not on its own prove starting capacity or diagnose the charging system. Match replacements through the Part Finder and the battery application data.
Smart chargers and tenders
Use an automatic charger with the mode and ratings approved for the battery. H-D’s charging guide distinguishes AGM and lithium use. A charger’s recovery or desulfation programme is not suitable for every battery chemistry. Inspect the fused lead and connector polarity; a similar plug does not establish compatibility. Follow the connection, ventilation and storage instructions for the charger and battery.
Lighting
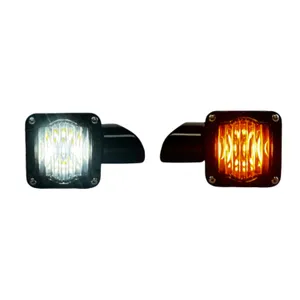
Check headlamp aim, stop lamps, indicators and the other required lights. Replacement lamps must suit the motorcycle’s wiring, control system and intended road use. An LED conversion can need additional control or load arrangements; do not fit resistors without understanding their heat and electrical requirements. The motorcycle MOT lighting rules cover operation and beam pattern. An approval mark alone does not confirm that a fitted lamp meets every requirement.
Fuses, switches and wiring
Inspect accessible wiring for damage, corrosion, insecure connections or overheating, particularly around accessory installations. Replace a fuse only with the specified rating and investigate repeated failures. Use the wiring diagram and approved repair method instead of bypassing protection or guessing which wire to join.
Browse electrical service parts including batteries, chargers, lighting, fuses, switches and wiring.






The last mile
Drive Belt, Cables & What to Leave to a Dealer
Identify whether the bike has its original belt drive, a factory chain drive or a conversion. Match inspections and replacement parts to that actual arrangement, including any changes to suspension or wheel position.
Drive belt
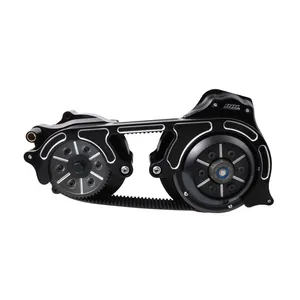
Check the belt and pulleys for damaged teeth, cracks, frayed edges and trapped debris. Measure deflection with the specified force and the motorcycle supported and loaded as the manual requires. There is no single correct 5/16–7/16 inch setting across the range. A replacement must match the application, tooth count and width; an assumed lifespan is no substitute for inspection. Belt replacement can involve substantial dismantling, so review the service procedure before buying the associated seals and hardware.
Sprockets and chains
Chain-driven Harleys include modern Pan America models as well as older machines and conversions. Use the specified chain type, slack and maintenance schedule. H-D’s chain-care guidance explains why cleaners and lubricants must suit the chain seals and why wet or dirty use needs extra attention. Inspect chain and sprockets together. Keep the engine off while working around the drive and rotate a safely supported wheel by hand.
Cables
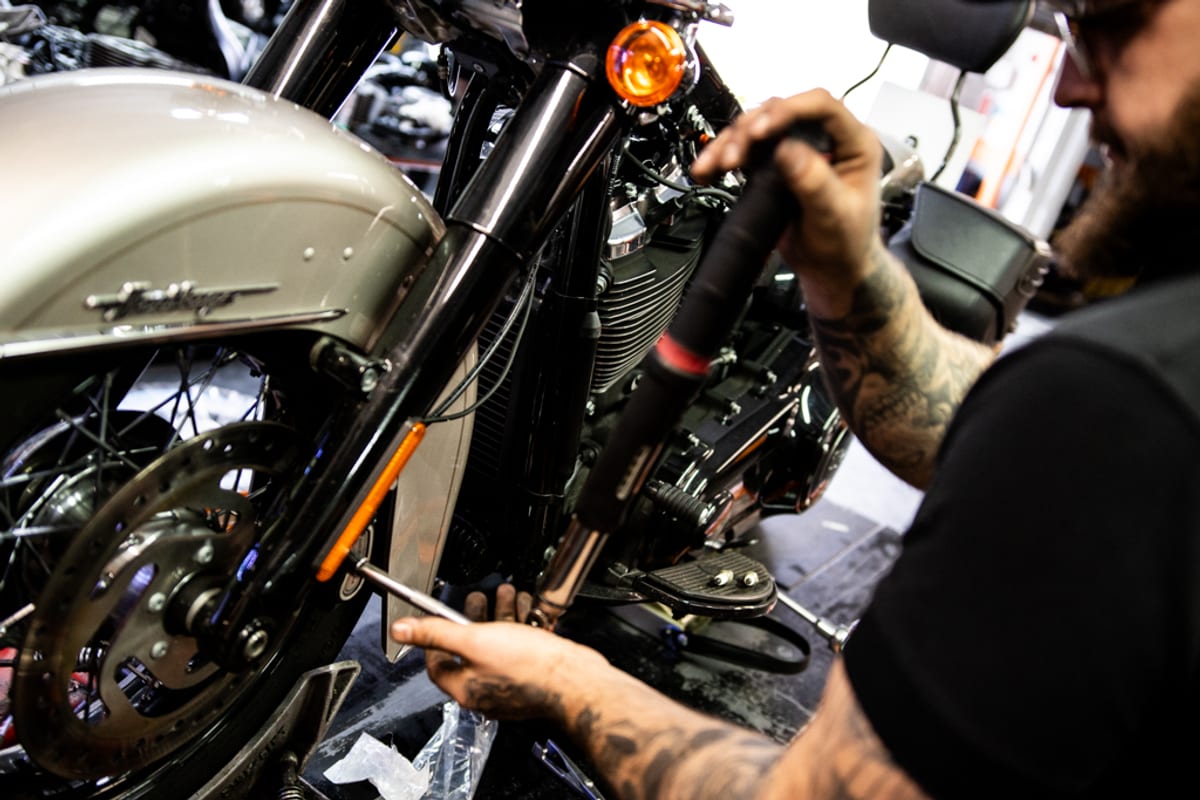
Check cable condition, free movement, routing and the model’s adjustment requirements. Some cables have liners that need a particular care method; do not apply a universal lubricant to every cable. Replace damaged or binding controls and check operation through the full steering movement. Electronic throttle and hydraulic clutch systems need their own instructions.
Deciding what to do at home
Owner-manual inspections, tyre pressure checks and careful cleaning are useful starting points. Fluid and filter work still needs the right manual, replacement seals, tools and verification. Brake, wheel, steering, suspension and drivetrain jobs require the ability to support the bike, follow the full procedure and check the result. Use a qualified dealer or independent specialist where the necessary tools, service information or experience are missing. Diagnostic ABS work is not replaced by an ordinary vacuum bleeder.
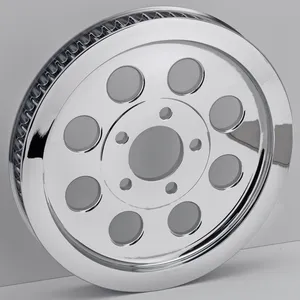
Browse drive belts and pulleys, clutch and throttle cables, and sprockets and chains. Use the H-D Service Information Portal to identify the work before ordering.
Drive belts, cables & chain kits




Harley-Davidson
Clean and care for your Harley-Davidson
Watch four complete Harley-Davidson films or read their detailed explanations. Each product link identifies the current international bottle, with differences from the US film references explained below.
Light dust or a full rinse?
Choose the process for the dirt on the bike. Everyday Detailer is for light cleaning between waxes; Quick Wash uses water and a rinse for dirt, oil and insects.
Everyday Detailer: light cleaning and UV protection
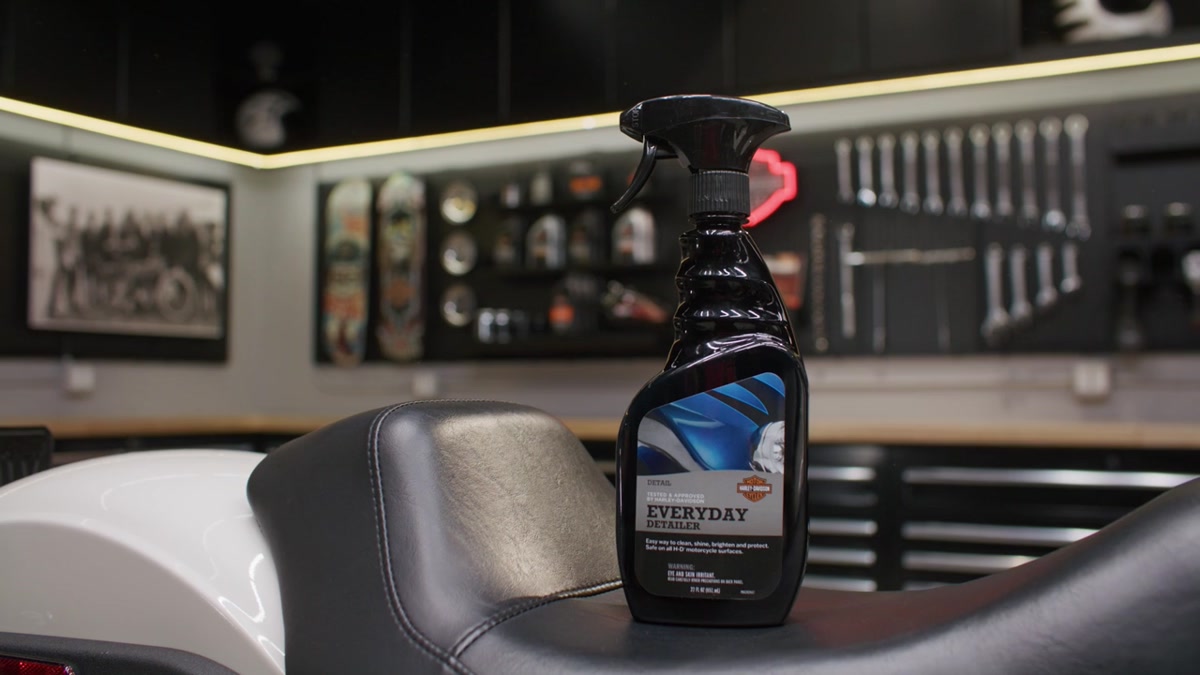
Everyday Detailer is intended for light cleaning between waxes, at home or while travelling. The non-abrasive formula cleans and brightens the finish without a full wash. The current 93600158 listing names paint, clear coat, chrome, glass, windshields, wheels, vinyl and plastic as suitable surfaces. It comes in a 650 ml trigger bottle. The film additionally mentions powder coat, but that is not established by the current named surface list; use the bottle’s directions for your particular finish.
There is an application difference to be aware of when watching: the film says wet or dry surfaces, while the current product listing specifies clean, dry surfaces. Follow the current directions for the bottle you buy. That listing describes spraying on and buffing off with a clean, dry microfibre towel. The film also says the product preserves glaze or polymer sealant; that film-only compatibility statement should not override the instructions for an existing coating.
H-D’s current listing states that the product provides UV protection against fading, is biodegradable and contains no waxes, oils or hydrocarbon solvents. The film goes further by describing 90 days of UV protection and no silicones. Those additional claims are not confirmed for the current bottle by the supplied product evidence, so this explanation does not promise a 90-day protection period or a silicone-free current formulation. The general UV benefit is supported separately from those unresolved details.
Products in this film
Quick Wash for dirt, oil and insects
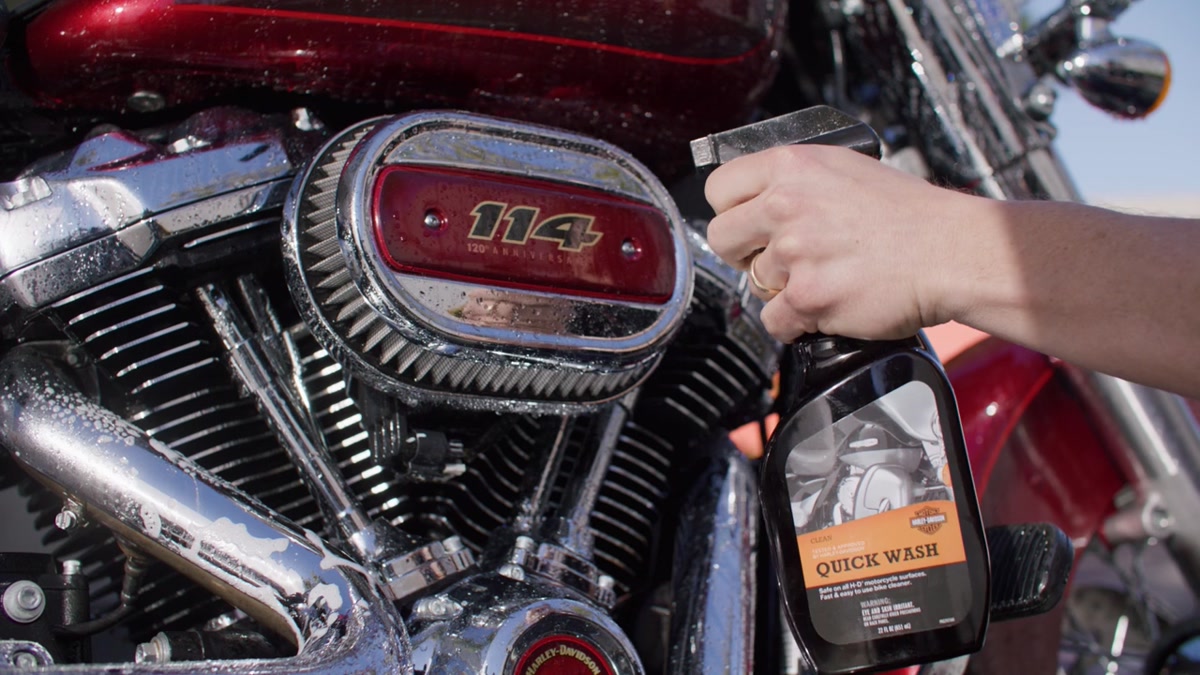
Quick Wash is a spray-and-rinse cleaner for dirt, oil and insects, including awkward spaces that are difficult to reach by hand. H-D describes its sheeting action as helping water rinse away cleanly and prevent spotting. The film presents a quick cleaning process, but also shows that caked-on dirt or insects may need a microfibre towel or wash mitt to loosen them. It is not a promise that every bike will become clean without any wiping.
In the demonstrated process, let the motorcycle cool and pre-rinse with water because the cleaner is water activated. Spray on Quick Wash, allow it to act for at least one minute, then hose it off; use the towel or mitt if needed for stubborn dirt. The current international listing also specifies spraying, waiting one minute and rinsing. Follow the current bottle directions for the actual surface and conditions, while retaining the film’s cooled-bike and pre-rinse context.
The international product matched here is 93600171 in a 650 ml trigger bottle; the source film’s US reference is 93600162. H-D states that the formula does not strip wax, corrode fasteners or spokes, or stain leather and vinyl seats and saddlebags. The film also names chrome, painted finishes and rubber among the applications. These are manufacturer compatibility claims for use as directed, not an unconditional guarantee for every coating, contamination or cleaning method.
Products in this film
Gloss paint and satin trim
Fine marks in gloss paint and dirt on a seat call for different products. Compare the demonstrated finish, application method and material restrictions before choosing.
Scratch & Swirl Repair for fine marks in gloss paint
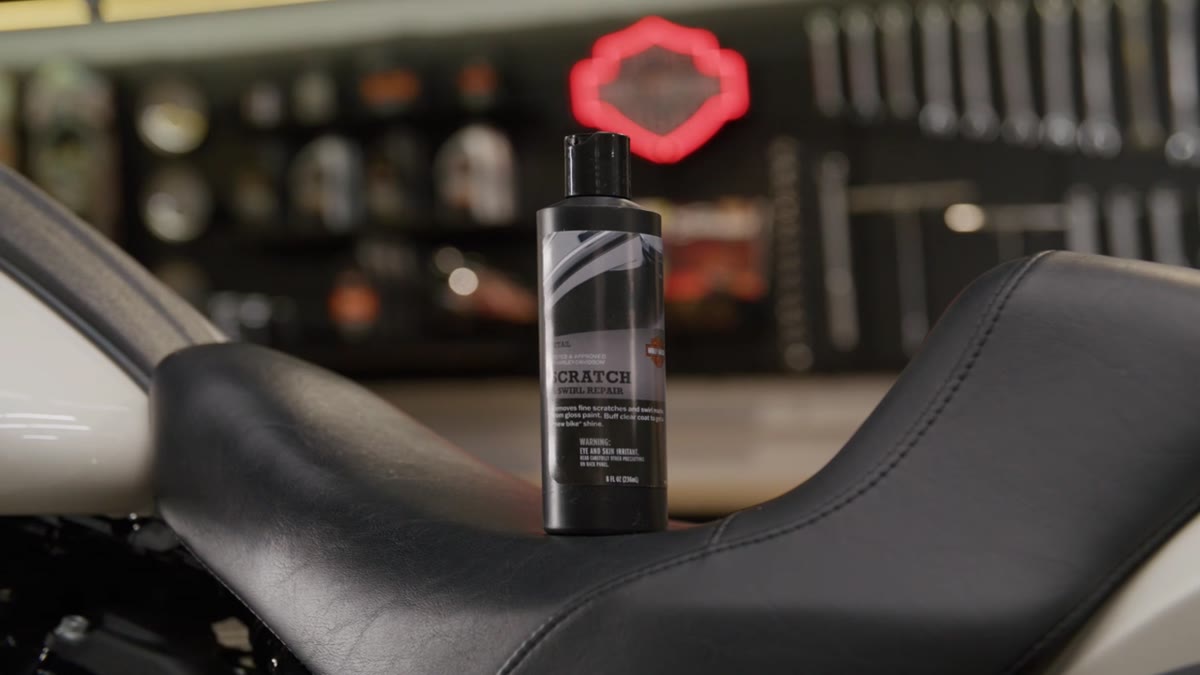
Scratch & Swirl Repair is for fine scratches and swirl marks in gloss paint, such as the marks that can result from a dirty cloth or unsuitable brush. The film explains how its non-rigid abrasives initially level the clear coat, then become less aggressive during buffing to leave a polished finish. The demonstration is a product example, not a promise to repair deep scratches, missing paint or every defect to the same result.
The matched international product is 93600156, supplied in a 236 ml bottle; the film’s US reference is 93600155. Its formula is described as biodegradable. The current listing adds the application detail: work on a clean, cooled motorcycle, apply with a clean microfibre using firm circular movements, allow a light haze to form for one to two minutes, then buff with a separate clean microfibre. These are the product directions, rather than extra steps narrated in the film.
The listing specifically excludes clear-coated, powder-coated or painted wheels. That wheel restriction is not a ban on treating clear coat over gloss body paint, which is the intended use discussed in the film. Check the finish and current bottle instructions before use. This explanation and its product link cover Scratch & Swirl Repair; any separate finishing or protective treatment remains a separate choice.
Products in this film
A satin finish for seats, saddlebags and trim
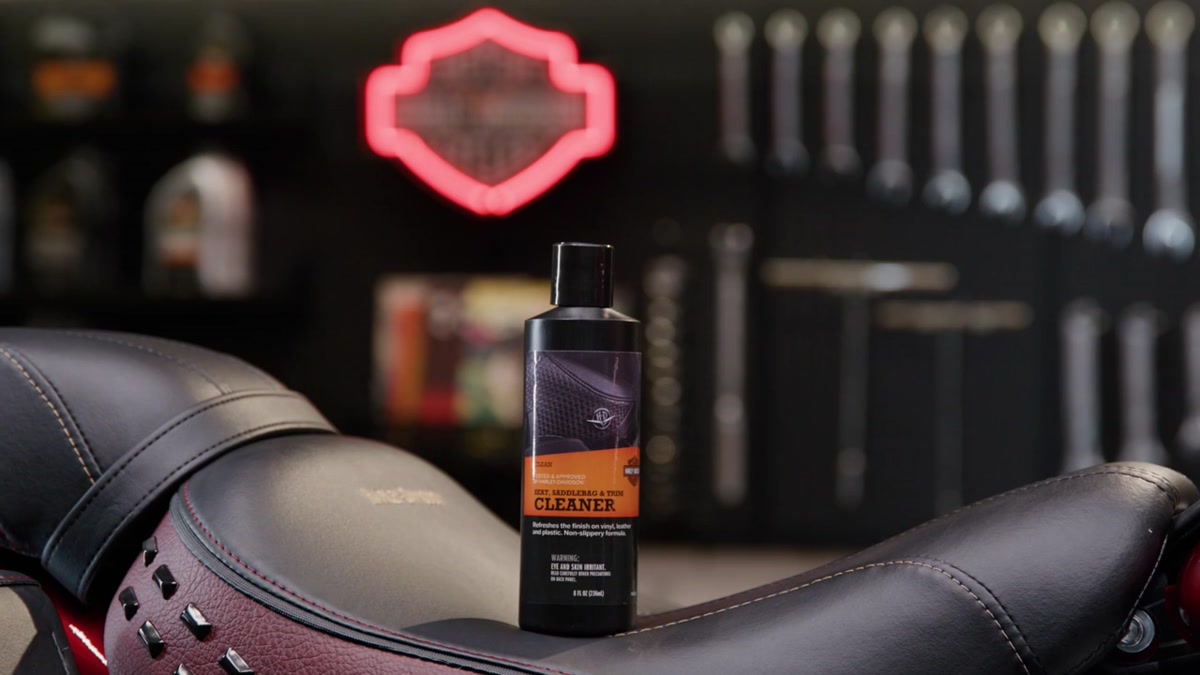
Seat, Saddlebag & Trim Cleaner is a one-step treatment for vinyl, leather and plastic, including seats, saddlebags, inner fairings and dash panels. H-D describes it as cleaning and refreshing the surface without the greasy residue that can attract more dirt. The current international listing confirms that it contains no waxes or other solvents that can dull vinyl and plastic. Those named uses do not establish that the cleaner is suitable for every material or finish.
Apply the gel to the surface with a microfibre applicator, then buff away accumulated dust and grime with a microfibre cloth. The film describes quick drying to a satin finish, and the current listing confirms the satin result. The matched international reference is 93600170 in a 236 ml bottle; the source film identifies the US version 93600167. Although the film also describes a non-slip finish and immediate secure seating, that safety assurance is not independently established for the current international product. Follow its bottle directions and assess the treated surface before riding; the satin appearance alone does not establish grip or immediate readiness.
Products in this film
Make cleaning part of the inspection
Identify the finish
Check whether the surface is gloss paint, matte or denim paint, coated metal, vinyl, leather or plastic. Use the instructions for both that surface and the exact cleaner. A product suitable for one finish is not automatically suitable for another.
Keep friction surfaces clear
Keep cleaners, polish and dressing away from brake discs, pads and tyre tread. Use separate clean cloths for different jobs. Follow the product’s rinsing and drying directions and check the bike before riding.
Look while you clean
Cleaning makes leaks, loose fittings and damaged finishes easier to notice. Record anything that needs attention, then return to the model’s maintenance schedule; cosmetic care does not replace mechanical service.
Common questions
Frequently Asked Questions
How often should I change the engine oil on a Harley-Davidson?
Use the service table for your exact model and year. H-D’s general guidance starts with the 1,000-mile service and then the 5,000-mile service points; model tables can also impose an annual limit. Short cold trips, dust and severe use can require more frequent changes. Keep the date and mileage together in your service record, and do not apply the engine-oil interval automatically to primary fluid, gearbox oil or coolant.
What’s the difference between engine oil, primary fluid and transmission fluid on a Harley?
Twin Cam and Milwaukee-Eight Big Twins have separate engine, primary and transmission lubricant compartments. Evolution Sportsters have a separate engine-oil system, while the primary and transmission share lubricant. They do not share one sump for all three. A lubricant approved for several compartments still needs to be drained, filled and checked separately in each. Revolution Max models require their own manual and should not inherit an Evolution Sportster service recipe.
When do I need to change the brake fluid?
Identify the specified fluid from the manual and reservoir marking first. H-D schedules for many DOT 4 systems require moisture checks and replacement every two years, or sooner when the specified moisture limit is exceeded. Older DOT 5 silicone systems need their own instructions; do not mix DOT 4 and DOT 5. An ABS flush or a system opened for component replacement can require a diagnostic bleed procedure. Have a qualified technician complete it if you lack the exact service data and equipment.
Can I use car engine oil in my Harley-Davidson?
Choose a lubricant approved for the exact engine or drivetrain compartment and operating temperatures, rather than relying on a car or motorcycle label alone. Wet-clutch compatibility matters wherever the oil contacts the clutch. It does not mean every Harley shares its engine oil with the clutch. Follow the manual’s specified alternatives if the normal lubricant is unavailable; do not improvise a substitution in the primary or transmission.
Do I need to keep my Harley on a smart charger over the winter?
Check the fitted battery chemistry and its storage instructions. H-D recommends a compatible automatic monitoring charger for many AGM-equipped bikes parked for more than two weeks. A lithium replacement needs a charging mode approved for that battery; an AGM recovery or desulfation programme is not automatically suitable. Check connector polarity and fused lead compatibility, and follow the battery and charger instructions.
How do I know when my tyres need replacing?
Inspect tread, damage, pressure loss and age together. The Great Britain motorcycle MOT standard generally requires at least 1 mm of tread in a continuous band covering three-quarters of the breadth around the whole circumference, with visible tread elsewhere; the manual explains the exceptions. This is a minimum inspection threshold, not a promise of grip in all conditions. Follow the tyre maker’s wear and age guidance, and ask a tyre specialist to assess cracking, bulges, cuts or uncertain history.
How often should I check the drive belt?
Include a visual check in routine care and follow the model’s scheduled inspection and adjustment requirements. Look for damaged teeth, cracks, edge damage and trapped debris. Deflection must be measured with the specified force, temperature and motorcycle loading or support condition. There is no single correct Harley belt setting or guaranteed replacement mileage.
What service can I do at home, and what should I leave to a dealer?
Start with pre-ride inspections, tyre pressures, cleaning and the owner-manual checks you understand. Fluid and filter work also needs the correct manual, parts, support equipment and torque information. Brakes, wheels, steering, suspension and drivetrain dismantling need the appropriate competence and tools. Use a qualified dealer or independent specialist for any operation you cannot complete and verify safely, including diagnostic ABS procedures.
How often should I change the spark plugs and what gap do I need?
Both the replacement interval and gap depend on the model, year and specified plug. Use the exact manual and plug instructions; do not apply one Milwaukee-Eight or Twin Cam number to every Harley. Confirm the number of plugs, heat range and installation torque before ordering. A misfire calls for diagnosis rather than an assumption that earlier replacement will improve performance.
When should I change the air filter?
Inspect and service it at the intervals specified for the fitted intake, sooner when conditions require. Paper, washable dry and oiled cotton elements need different care. Replace damaged elements; clean a reusable filter with its approved method and allow it to dry as directed. Only apply filter oil when that element requires it. A Stage 1 or Screamin’ Eagle name alone does not establish the cleaning method.
What actually is the best oil for a Harley-Davidson?
The right choice meets the specific motorcycle’s lubricant and temperature requirements. SYN3 is not a 75W-140 gear oil: the previous version was 20W-50, while H-D’s current SYN3 guidance describes a new 15W-50/SAE 50 formula compatible with models specifying 20W-50. Check the actual bottle and application approval. Oil choice does not replace the correct service interval, fill level or separate-compartment checks.
What are the most common parts that fail on a Harley-Davidson?
There is no reliable failure ranking here for every generation. Use the bike’s service history and inspection findings: leaks, damaged belts, brake wear, bearing roughness, charging faults and deteriorating wiring are reasons to investigate. Search recall information using the exact vehicle identity and ask a specialist about generation-specific concerns. Do not order internal engine parts from a generic list of supposed common failures.
Are Harley-Davidson seats interchangeable between models?
Check the exact seat’s model and year fitment, tank clearance, mounting arrangement and any required hardware. A shared family name does not establish interchangeability. Passenger seats and backrests can be separate purchases with separate requirements. The seats and luggage category provides exact-product explanations and shopping links.
Do I really have to pull the primary and swingarm to replace a broken drive belt?
The dismantling sequence depends on the chassis and drivetrain. Some Big Twin layouts require substantial primary-drive and rear-chassis work to replace the continuous belt. Check the exact service procedure before ordering the belt, seals and hardware or estimating labour. There is no universal two-hour job or safe split-belt shortcut implied by this guide.
How do I tell a cracked ignition coil from a fouled spark plug on a Milwaukee-Eight?
A misfire pattern alone cannot reliably separate a plug, coil, wiring, fuelling or mechanical fault. Record when the problem happens, retrieve diagnostic codes using the model’s procedure and inspect the specified components in the service-manual order. Avoid pulling live ignition leads or assuming a dark rear-cylinder plug is normal. Persistent misfiring needs diagnosis before further riding or buying replacement parts.